
It’s been a while since I’ve written a blog! Life has continued to be wonderful, yet very busy, so I’ve had to get focused where I spend my time outside of work (which is highly demanding in and of itself). Graham is nearly 7 months old and loving life – and we’re loving him – and it’s crazy to think that Infinitude (my other baby) came out just over a year ago! Time flies.
I’ve been busy writing too. I traded out Rath’s Reviews to make more time for it and I [largely] have not let it go to waste, having started two projects. You may remember a previous blog where I outlined some ideas. Thanks to my new approach to storytelling, I’m well underway with planning and have toe-dipped into writing books about Barley and a horror-serial-killer detective novel.
To say it’s great to be writing again would be an understatement. After nearly 1.5 years since I’d last done some meaningful writing, I was ready to take up the “quill” (read: keyboard) again. Both novels – very different – are fun to plan, see where the story takes me, and the “writer’s high” remains unmatched. As I write my new stories, I’ve always wanted to document key parts of the process. Since my approach changed dramatically this time, I figured I would share that documentation. This approach is my amalgamation of two books that I’ve written posts about previously:
I. From “What If?” to Why?”
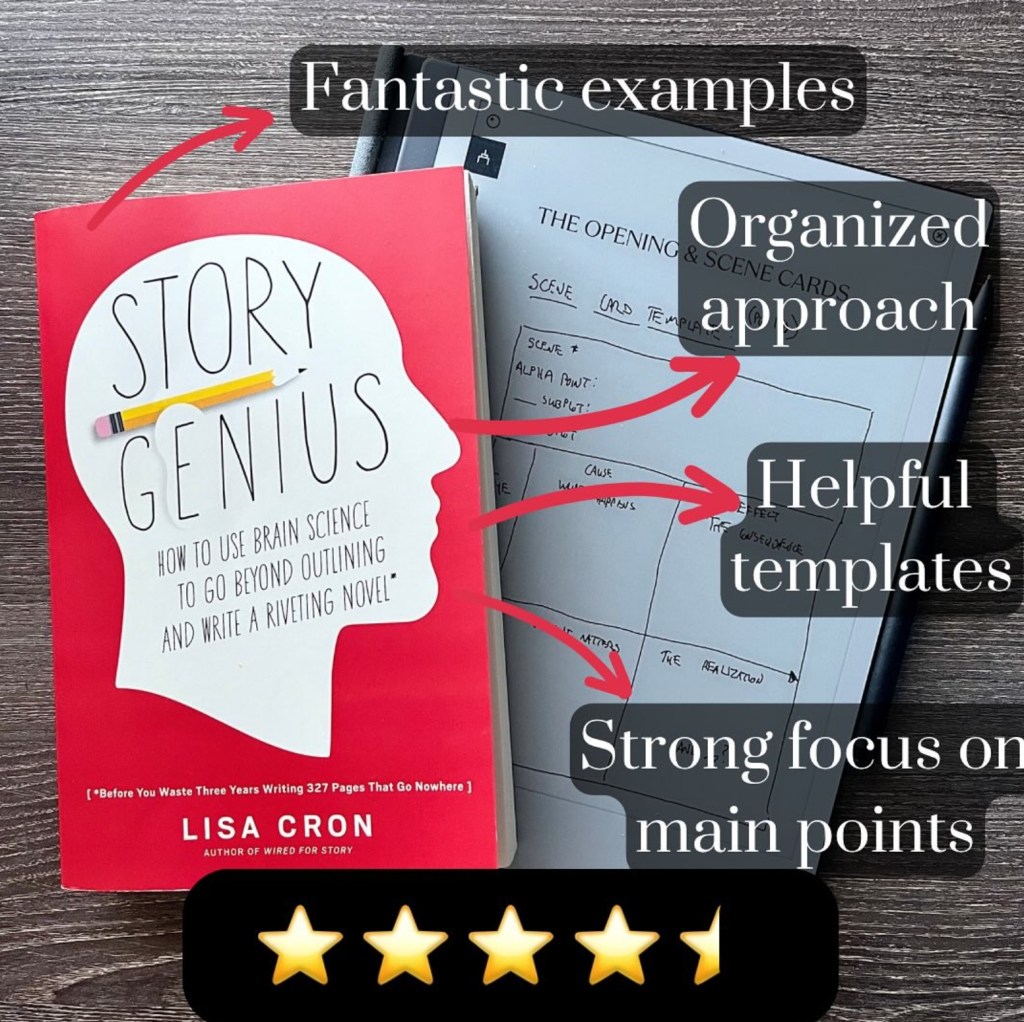
The Approach: Rooted in some of the basics of Story Genius, this portion is where you can have multiple idea “pinpricks” you’re trying to develop at once. You take those pinpricks and ask yourself, “Why do I care?”. Why is the idea sticking with you? What’s the point? From there you can create your “What If?” statement where you pose the story in broad, but specific sentences as a pitch. “What if…XYZ happened?”
You’ll then dive into the WHO, specifically: “Who is your protagonist the day before the story starts?” This bleeds naturally into the “What do they want?” and WHY do they want those things. Perhaps most important though is to understand: What are their misbeliefs…their fatal internal flaws? What keeps them from getting what they want? How did they get those misbeliefs?
In Practice: This part was very different for each novel as Barley’s story is more established with conception (the “What If?”) but was quite tricky to understand Barley’s – and mine – character misbeliefs (the “Why”). With my horror/crime novel, this part was enthralling and honestly a bit mind-blowing.
Spending considerable time focusing on character motivations was not something I’ve done first for any of my previous novels and building out a lot of faux backstory and reasoning early was difficult and odd, but rewarding. It gave me a better understanding of my protagonist (and some other characters), forced me to hone my idea with specifics, and started forming key pieces of the plot in my imagination.
Key Takeaway: Embrace all the ideas, run with various angles, and get specific, but be okay with not having the answer to every character question you may create.
II. Genre and Act Mapping
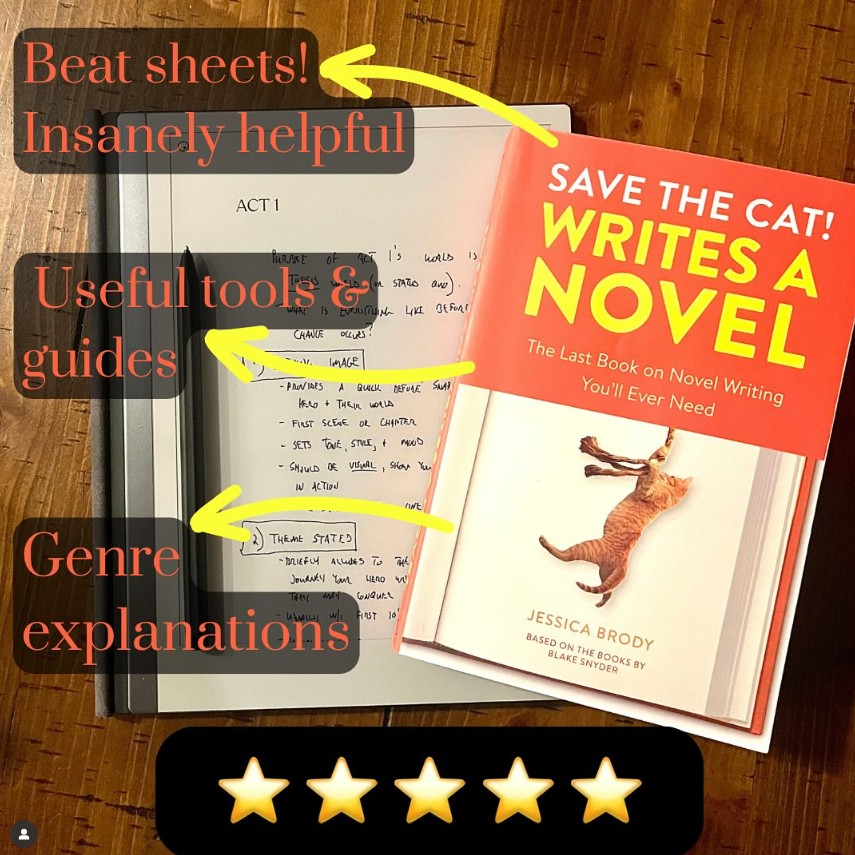
The Approach: Part I starts to form your story based around the internal (and some external) conflict your character will experience. It was here where I found it helpful to transition to focusing on the plot beats at a high/medium level. Using Save the Cat! Writes a Novel you can determine your Genre and proceed through all the various Act I – III components (e.g. Opening Image, Dark Night of the Soul, Finale, etc.) with some bullets of what you’d want to see happen.
In Practice: This is where your plot gets to shine. You’ve likely got a strong foundation from the character work you did in Part I, and the structure Save the Cat provides is bite-sized and keeps you focused.
I skipped this part for Barley’s book as it’ll be chronological (likely) and based on his life – which he hopefully has lots of remaining.
For the horror/crime novel, I spent time thinking about my genre (Whodunit vs. Monster in the House…some combo of both?) and then began to build out my plot beats. The result was 1,777 words of outlining from beginning to end that left me on a high of excitement. I know that stories change as you write them, plot holes or inconsistencies can appear once you roll up your sleeves, and sometimes the act of writing itself takes you in a different direction…BUT, I’d be lying if I didn’t say this exercise left me feeling the most confident I ever have been to starting a book in terms of not only knowing the end (what I generally like to start with), but knowing the path there too.
Key Takeaway: Don’t aim for perfect, but do use the template(s) Save the Cat! provides. Focusing on small, sequential elements will help you flesh out your story and you’ll be surprised where you end up.
III. Marry the Two
The Approach: With strong character understanding and a plot outline, it’s now time to map the two onto one another. This starts with finding key plot moments: Turning Points (scenes that will yield the most story info), Pivot Points (catalysts for the protagonist), and the Ticking Clock (details the start of your story).
From here you’ll delve into testing your novel’s key problems against several questions to ensure it will hold reader’s attention. You’ll take a core problem and ask things like:
- Can the problem sustain the entire novel?
- Can it build and climax?
- Is there a real consequence this problem creates that the hero will have to face?
- Is the problem capable of forcing your hero to make inner change?
- Will the problem’s impending consequence force that change with misbelief?
After testing your problems, you’ll work on Aha Moments and Scene Logic Testing, both of which have their own series of questions to answer. If you’re curious and want me to elaborate more on some of Story Genius tactics in these areas, let me know in the comments!
In Practice: I found marrying the two was the hardest to wrap my head around and there were certain elements I did NOT do (e.g. “write your final scene completely”) as I didn’t find them to be value add at that point in time. Areas where specific questions were driving the approach (e.g. Aha Moments, Problem Testing, etc.) were the most helpful and where I could elaborate a lot.
Again, more time was spent on the horror/crime novel since it’s fictional in nature. What I discovered was that having done the Save the Cat! work on my plot made this Story Genius portion far more efficient. In fact, I’m not even sure how I would have answered many of these questions without a plot outline first.
Key Takeaway: This part is hard, but worth it. You’ll be eager to get writing after the high of outlining your story beats, but taking a moment to think through key moments, their logic, and how they connect to the character (and their misbeliefs) will help to make your narrative stronger.
IV. Writing Prep – “Mise en place”
It’s here where I broke away from Story Genius and Save the Cat! and – specifically for my horror/crime novel – asked: “what else do I need to do to feel prepared?” Largely that came down to the following:
- Building out my characters. Names, relationship to the protagonist, some backstory for each, appearance, ticks, etc.
- Identifying setting. Where will the story take place? One city? Multiple? Why? Does it matter to the narrative?
- World Rules. Are there any world rules or history you have to keep in mind? It’s helpful to start this as a side document and keep it around so you can add as you go.
- Misc. Ideas. Create a place where you can document miscellaneous ideas you have while writing. They could make it in your final product or not, but it’s good to have a dump for things like “Oh I could connect that 100 pages later when X happens” so you don’t have to remember it for 100 pages.
This part was generally quick and more scattered without the structure, but I found it highly useful once I’ve started writing, particularly the character info sheets (creating character names takes the longest out of all of this!).
V. Write & Build Scene Cards
Finally! You can start writing! Right? Well…yes, but there was one final element from Story Genius I decided to implement: Scene Cards. The purpose of these cards is to carry through your plot and character (called the “3rd Rail”) beats/motivations into each scene you create. I’ve found them incredibly helpful to create before starting a new chapter, writing said chapter (and letting it go where it wants), and then returning to make final updates to the scene cards. It’s a good precursor to ensure your scene has meaning to the character(s) and larger plot, while also giving you the added benefit of documentation for later in case you need to rearrange things.
I’ve chosen to do it in PowerPoint because i) I’m talented there and ii) it allows for various views and organization of slides that could come in handy should I need to look at the big picture or a specific Act, etc. Below is an example. If you’re interested in my template or would like to learn more here, leave a comment!

By the time I started writing, I was chomping at the bit to do so, but I’ll re-emphasize: I have never felt more prepared to start writing a book than I do after this process (for both novels, even if Barley’s didn’t go through the full thing). It’s a lot to keep track of, but it helps to take the swirling ideas of a story and add just enough structure and guidance that I can still enjoy the thrill of writing, yet have the benefit of targeted, specific, and documented brainstorming to keep me efficient.
As I’ve hyped and mentioned before, if you are a writer, I cannot recommend Story Genius or Save the Cat! Writes a Novel enough!
Have a different approach to your writing? Think mine is crazy? Have tips to share? Let me know in the comments or on social media.

Leave a comment